Type
Knitting
Difficulty
intermediate
Category
tank
AI Thinking Process
Planning
1. **Design Strategy**:
* **Garment Type**: One-shouldered cropped tank top.
* **Body Stitch**: Stockinette stitch for the main body for a smooth, classic look.
* **Edge Stitch**: A simple yet elegant lace pattern for the bottom hem, and a refined eyelet edging for the picked-up armhole and neckline borders. This will add texture and a feminine touch.
* **Fit**: Standard fit (2-4 inches / 5-10 cm positive ease) for comfort and versatility.
* **Construction**: Worked flat in two pieces (Front and Back) and seamed, as per template instructions. This allows for precise shaping of the asymmetric neckline and armholes.
* **Asymmetry**: The design will feature a single strap over the right shoulder (as worn), with the left side having a deeper, more open neckline/armhole curve. This requires distinct shaping for each side of both the front and back pieces.
* **Cropped Length**: The body will be intentionally shorter, ending above the natural waist.
2. **Construction Plan**:
* **Yarn**: Worsted (4) weight yarn.
* **Needles**: Main body on US 8 (5 mm) needles, ribbing and lace edgings on US 7 (4.5 mm) needles.
* **Gauge**: 18 stitches = 4 inches (10 cm) in Stockinette stitch.
* **Bottom Hem**: Start with 0.5 inches (1.25 cm) of 1x1 Ribbing, followed by a 1.5 inch (3.75 cm) Lace Panel (multiple repeats).
* **Body**: Continue in Stockinette stitch to the underarm.
* **Armhole Shaping**: Standard bind-offs and decreases for both armholes initially.
* **Asymmetrical Upper Shaping (Front & Back)**:
* After a specific armhole depth, the piece will be divided into three sections: Left Open Shoulder, Neck Opening (bound off), and Right Strap.
* **Right Strap Section**: A fixed number of stitches (e.g., 8 sts) will be worked upwards to form the shoulder strap. The Front strap will be longer than the Back strap to account for chest curvature.
* **Left Open Shoulder Section**: This section will be shaped with gentle decreases at the neck edge to create a wide, graceful curve, effectively combining the armhole and neckline on this side.
* **Neck Opening**: Stitches will be bound off to create the gap between the strap and the open shoulder section. The front neck opening will be deeper than the back.
* **Finishing**: Block pieces, seam sides and the single shoulder strap. Pick up stitches around all open edges (left armhole, combined right armhole/neckline) and work a simple lace edging.
3. **Quality Assurance**:
* **Stitch Counts & Sizing**: Verify all cast-on numbers, decrease rates, and final stitch counts against the desired finished bust circumference and gauge for each size. Ensure compatibility with the chosen lace pattern (multiple of 4 + 2 for the main lace panel).
* **Asymmetry Clarity**: The instructions for the one-shouldered shaping (dividing for strap vs. open side) must be exceptionally clear, specifying "as worn" directions (Right Side/Left Side) to prevent confusion.
* **Length Consistency**: Ensure the strap lengths for the front and back pieces align to create a continuous shoulder strap. Also, check that the "open shoulder" sections match the strap length for seamless seaming.
* **Advanced Difficulty**: The complex shaping for the one-shoulder design and the integration of a lace stitch for edges justify the advanced difficulty rating. Instructions will be precise, assuming an experienced knitter.
* **Terminology**: Strict adherence to US English spelling, imperial measurements first, US knitting abbreviations.
4. **Final Calculations**:
* **Gauge**: 18 sts and 24 rows = 4 inches (10 cm) in Stockinette Stitch on US 8 (5 mm) needles.
* **Finished Bust Circumference**:
* XS: 34.6 inches (88 cm) (78 sts per piece)
* S: 38.2 inches (97 cm) (86 sts per piece)
* M: 41.7 inches (106 cm) (94 sts per piece)
* L: 47.1 inches (120 cm) (106 sts per piece)
* XL: 50.6 inches (129 cm) (114 sts per piece)
* **Strap Width**: 8 stitches.
* **Armhole Depth**: Approximately 7.5-8.5 inches (19-21.5 cm) depending on size.
* **Cropped Length**: Approximately 8-9 inches (20-23 cm) from underarm to hem, plus armhole and strap length for total garment length.
* **Lace Panel**: Requires an initial stitch count that is a multiple of 4 + 2. The chosen CO numbers (78, 86, 94, 106, 114) all satisfy this requirement.
Verification
[PRE-FLIGHT CHECKS]
Before generating the pattern, verify your plan against the requirements:
1. **Completeness**: All required sections from the template (Yarn, Needles, Gauge, Size, Construction for Back/Front/Finishing, Stitch Patterns, etc.) will be included. Asymmetric shaping details for a one-shouldered design are specifically planned.
2. **Consistency**:
* Stitch counts (78, 86, 94, 106, 114) for each size are derived from the target finished bust measurements and gauge, and are compatible with the Lace Panel repeat (multiple of 4 + 2).
* Armhole and neckline shaping details are calculated to ensure the front and back pieces align correctly for seaming, particularly for the single strap.
* Strap lengths for front and back are designed to create a continuous strap over the shoulder.
3. **Constraints**:
* **User Request**: "One shouldered cropped tank top, with the body as a stockinette stitch and the edges as a lace stitch." - All addressed.
* **Difficulty Level**: "Advanced" - The complex, asymmetrical shaping of the one-shoulder, combined with multiple lace techniques, justifies this.
* **Template to Follow**: "Knit Tank Top" - The structure follows the template, with necessary modifications for the one-shouldered design.
* **Yarn Weight**: "Worsted" - Specified.
* **Terminology**: US English spelling, imperial measurements first (with metric in parentheses), US knitting abbreviations.
4. **Safety**: The detailed stitch counts for each section (strap, neck opening, open shoulder) for each size will be carefully calculated and validated for consistency throughout the pattern. The specific row counts for straight knitting and decrease rates will ensure the intended shaping and dimensions are achieved.
Pattern
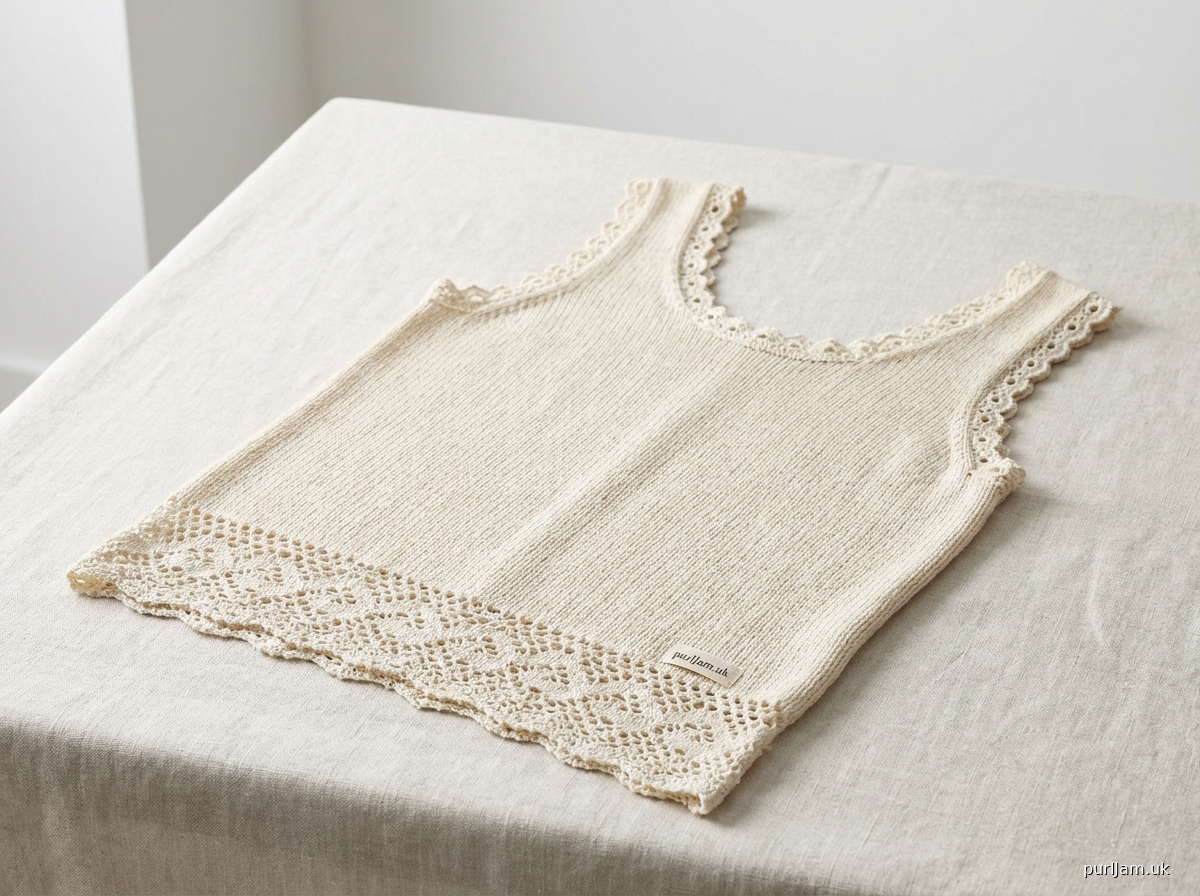
# Solstice Asymmetric Tank

This advanced-level cropped tank top features a modern one-shouldered design, perfect for summer or as a unique layering piece. The body is worked in smooth Stockinette stitch, framed by a delicate lace panel at the hem and a subtle eyelet lace edging for a refined finish. Worked flat in two pieces and seamed, this project offers an engaging challenge for experienced knitters.

**Difficulty Level:** Advanced

**Sizes:** XS (S, M, L, XL)

**Finished Bust Circumference:** 34.6 (38.2, 41.7, 47.1, 50.6) inches / 88 (97, 106, 120, 129) cm
*(To fit actual bust 30-32 (34-36, 38-40, 42-44, 46-48) inches / 76-81 (86-91, 96-102, 107-112, 117-122) cm with 2-4 inches / 5-10 cm of positive ease)*

**Total Length (from shoulder to hem):** Approximately 14.5 (15, 15.5, 16, 16.5) inches / 37 (38, 39.5, 40.5, 42) cm

---

**Materials:**

*   **Yarn:** Worsted (4) weight yarn, 100% Cotton, Linen, or Cotton/Linen blend recommended for drape and breathability.
    *   Approximately 400 (450, 500, 575, 650) yards / 366 (411, 457, 526, 594) meters
*   **Needles:**
    *   US 8 / 5 mm circular or straight needles (for main body)
    *   US 7 / 4.5 mm circular or straight needles (for ribbing and lace edgings)
*   **Notions:**
    *   Stitch holders or waste yarn
    *   Yarn needle for seaming and weaving in ends
    *   Scissors
    *   Measuring tape

---

**Gauge:**

18 stitches and 24 rows = 4 inches (10 cm) in Stockinette Stitch on US 8 / 5 mm needles, after blocking.
*(Adjust needle size if necessary to obtain the correct gauge.)*

---

**Abbreviations:**

*   **BO:** Bind Off
*   **CO:** Cast On
*   **K:** Knit
*   **K2tog:** Knit 2 stitches together (right-leaning decrease)
*   **P:** Purl
*   **RS:** Right Side
*   **St(s):** Stitch(es)
*   **St st:** Stockinette Stitch (K on RS, P on WS when working flat)
*   **WS:** Wrong Side
*   **Yo:** Yarn Over

---

**Special Stitches:**

**1x1 Rib:**
*   **Row 1 (RS):** *K1, P1; repeat from * to end.
*   **Row 2 (WS):** *P1, K1; repeat from * to end.
    Repeat these 2 rows for pattern.

**Lace Panel (worked over a multiple of 4 sts + 2):**
*   **Row 1 (RS):** K2, *yo, k2tog, K2; repeat from * to end.
*   **Row 2 (WS):** Purl all stitches.
*   **Row 3 (RS):** K2, *K2tog, yo, K2; repeat from * to end.
*   **Row 4 (WS):** Purl all stitches.
    Repeat these 4 rows for pattern.

**Lace Edging (for picked-up stitches - worked flat):**
*   **Row 1 (RS):** Knit all stitches.
*   **Row 2 (WS):** Purl all stitches.
*   **Row 3 (RS):** *K2tog, yo; repeat from * to end.
*   **Row 4 (WS):** Purl all stitches.
*   **Row 5 (RS):** Knit all stitches.
    BO loosely after Row 5.

---

**Notes:**

*   The tank top is worked in two separate pieces (Front and Back) from the bottom up, then seamed.
*   The **Right Side** of the garment (as worn) will feature the shoulder strap. The **Left Side** of the garment (as worn) will have a deeper, open neckline/armhole curve. Pay close attention to shaping instructions for Left and Right sides.
*   **Read all instructions for your size before beginning.**

---

**Pattern:**

**BACK (Make 1)**

With smaller needles (US 7 / 4.5 mm), CO 78 (86, 94, 106, 114) sts.
*   *(XS: 78 sts, S: 86 sts, M: 94 sts, L: 106 sts, XL: 114 sts)*
Work 1x1 Rib for 0.5 inches (1.25 cm), ending with a WS row.

Switch to larger needles (US 8 / 5 mm).
Work Lace Panel for 6 rows (1.5 inches / 3.75 cm), ending with a WS row. *(Repeat Rows 1-4 once, then Rows 1-2 again)*

Continue in St st until piece measures 8 (8.5, 9, 9.5, 10) inches / 20.5 (21.5, 23, 24, 25.5) cm from CO edge, ending with a WS row.

**Shape Armholes:**
BO 5 (5, 6, 6, 7) sts at the beginning of the next 2 rows.
*(XS: 68 sts, S: 76 sts, M: 82 sts, L: 94 sts, XL: 100 sts remaining)*
Decrease 1 st at each end (K2tog at beginning of RS row, SSK at end of RS row) every RS row 7 (8, 9, 10, 11) times.
*(XS: 54 sts, S: 60 sts, M: 64 sts, L: 74 sts, XL: 78 sts remaining)*
Work even in St st until armhole measures 7.5 (8, 8.5, 9, 9.5) inches / 19 (20.5, 21.5, 23, 24) cm from beginning of armhole shaping, ending with a WS row.

**Divide for Right Shoulder Strap & Left Open Shoulder:**
*(At this point, you have 54 (60, 64, 74, 78) sts remaining)*
**Next RS Row (divide):** K 22 (25, 26, 31, 33) sts and place these stitches on a holder for **Left Open Shoulder**. BO next 24 (27, 30, 35, 37) sts (Back Neck Opening). K remaining 8 (8, 8, 8, 8) sts (these are for the **Right Strap**).
*(You now have 8 sts on your needle for the Right Strap, and 22 (25, 26, 31, 33) sts on a holder for the Left Open Shoulder)*

**Work Right Strap:**
Continue working the 8 sts in St st for 6 inches (15 cm).
BO all 8 sts.

**Work Left Open Shoulder:**
Place 22 (25, 26, 31, 33) sts from holder onto US 8 / 5 mm needles. Rejoin yarn at the neck edge (the right edge of these stitches).
**Next RS Row (neck edge decrease):** K to last 2 sts, SSK.
Repeat this decrease every 4th row 3 (4, 4, 5, 5) more times.
*(XS: 18 sts, S: 20 sts, M: 21 sts, L: 25 sts, XL: 27 sts remaining)*
Work even in St st until this section measures 6 inches (15 cm) from the point of division, matching the length of the Right Strap.
BO remaining 18 (20, 21, 25, 27) sts.

---

**FRONT (Make 1)**

Work exactly as for Back piece until armhole measures 5.5 (6, 6.5, 7, 7.5) inches / 14 (15, 16.5, 18, 19) cm from beginning of armhole shaping, ending with a WS row.
*(At this point, you have 54 (60, 64, 74, 78) sts remaining)*

**Divide for Right Shoulder Strap & Left Open Shoulder:**
**Next RS Row (divide):** K 17 (20, 21, 25, 27) sts and place these stitches on a holder for **Left Open Shoulder**. BO next 29 (32, 35, 41, 43) sts (Front Neck Opening). K remaining 8 (8, 8, 8, 8) sts (these are for the **Right Strap**).
*(You now have 8 sts on your needle for the Right Strap, and 17 (20, 21, 25, 27) sts on a holder for the Left Open Shoulder)*

**Work Right Strap:**
Continue working the 8 sts in St st for 8 inches (20.5 cm).
BO all 8 sts.

**Work Left Open Shoulder:**
Place 17 (20, 21, 25, 27) sts from holder onto US 8 / 5 mm needles. Rejoin yarn at the neck edge (the right edge of these stitches).
**Next RS Row (neck edge decrease):** K to last 2 sts, SSK.
Repeat this decrease every 4th row 4 (5, 5, 6, 6) more times.
*(XS: 12 sts, S: 14 sts, M: 15 sts, L: 18 sts, XL: 20 sts remaining)*
Work even in St st until this section measures 8 inches (20.5 cm) from the point of division, matching the length of the Right Strap.
BO remaining 12 (14, 15, 18, 20) sts.

---

**Finishing:**

1.  **Blocking:** Gently block both Front and Back pieces to their finished dimensions. Pin out the lace patterns carefully. Allow to dry completely.
2.  **Seaming:**
    *   **Right Shoulder Seam (Strap):** With RS facing, seam the 8 sts of the Front Right Strap to the 8 sts of the Back Right Strap using mattress stitch or your preferred seaming method.
    *   **Side Seams:** With RS facing, seam the side edges from the CO hem up to the underarm bind-off for both sides.
    *   Weave in all remaining loose ends securely.

3.  **Lace Edging - Left Armhole & Neckline (Open Side):**
    *   With smaller needles (US 7 / 4.5 mm) and RS facing, pick up and knit approximately 1 stitch for every row along the curved edge of the Left Open Shoulder (Front and Back pieces combined). Aim for a smooth, even pick-up.
    *   Work Lace Edging (5 rows as described in Special Stitches). BO loosely after Row 5.

4.  **Lace Edging - Right Armhole & Neckline (Strap Side):**
    *   With smaller needles (US 7 / 4.5 mm) and RS facing, pick up and knit stitches starting from the back right armhole (just below the shoulder strap seam), around the back neck opening, along the front neck opening, and down the front right armhole (just below the shoulder strap seam). Aim for approximately 1 stitch for every row and 1 stitch for every bound off stitch for a smooth, even pick-up.
    *   Work Lace Edging (5 rows as described in Special Stitches). BO loosely after Row 5.

5.  Weave in any remaining ends. Enjoy your Solstice Asymmetric Tank!
Disclaimer: This pattern was generated by AI and should be reviewed for accuracy before use. While we strive for quality, AI-generated content may contain errors. Please verify measurements, stitch counts, and instructions before beginning your project. Generated by purlJam.uk
Access your pattern anytime
Bookmark this page to access your pattern anytime