Type
Machine Knitting
Difficulty
intermediate
Category
custom
AI Thinking Process
Planning
1. **Design Strategy**: The user wants a "daisy flower" pattern at beginner level in worsted weight yarn. This calls for a decorative motif suitable for a patch, appliqué, or small square that can be sewn onto other projects. I'll design a flat-knit square panel featuring a daisy motif using intarsia or duplicate stitch technique. For beginner-friendly execution, I'll create the base square on the machine and provide a simple chart for adding the daisy via duplicate stitch after knitting, avoiding complex color changes during machine knitting.
2. **Construction Plan**: Flat knitting on the main bed only (no ribber required). Create a square stockinette panel approximately 4-5 inches (10-12.5 cm) across. Cast on with waste yarn and ravel cord, knit the square in main color, then bind off. The daisy motif will be added via duplicate stitch following a simple chart. This keeps machine operations straightforward for beginners while still producing an attractive result.
3. **Quality Assurance**:
- Ensure stitch count produces a true square at the specified gauge
- Provide clear RC checkpoints so beginners don't lose their place
- Include detailed duplicate stitch instructions since many beginners may not be familiar with this technique
- Add blocking instructions to ensure the square lays flat
- Verify that worsted weight at a beginner-friendly tension produces good fabric
4. **Final Calculations**:
- Worsted weight on standard gauge (4.5mm) machine at T7: approximately 5.5 sts/inch and 7.5 rows/inch
- For a 5-inch (12.5 cm) square: 28 stitches × 38 rows (rounding to even numbers for symmetry)
- Daisy motif will be centered on an approximately 15-stitch × 15-row area
Verification
[PRE-FLIGHT CHECKS]
1. **Completeness**: Pattern includes title, description, materials, tension/gauge, abbreviations, pattern notes, step-by-step instructions with RC checkpoints, daisy chart, duplicate stitch tutorial, and finishing instructions. ✓
2. **Consistency**:
- 28 sts ÷ 5.5 sts/inch = 5.09 inches wide ✓
- 38 rows ÷ 7.5 rows/inch = 5.07 inches tall ✓
- Square proportions confirmed ✓
3. **Constraints**:
- Beginner-friendly: uses basic stockinette, no complex shaping ✓
- Worsted weight specified ✓
- Daisy flower motif included ✓
- Machine-specific terminology used throughout ✓
4. **Safety**:
- All stitch counts are even and symmetrical ✓
- RC counts progress logically ✓
- No mathematical errors detected ✓
Pattern
<pattern>
# DAISY FLOWER SQUARE
## Machine Knit Decorative Patch or Panel
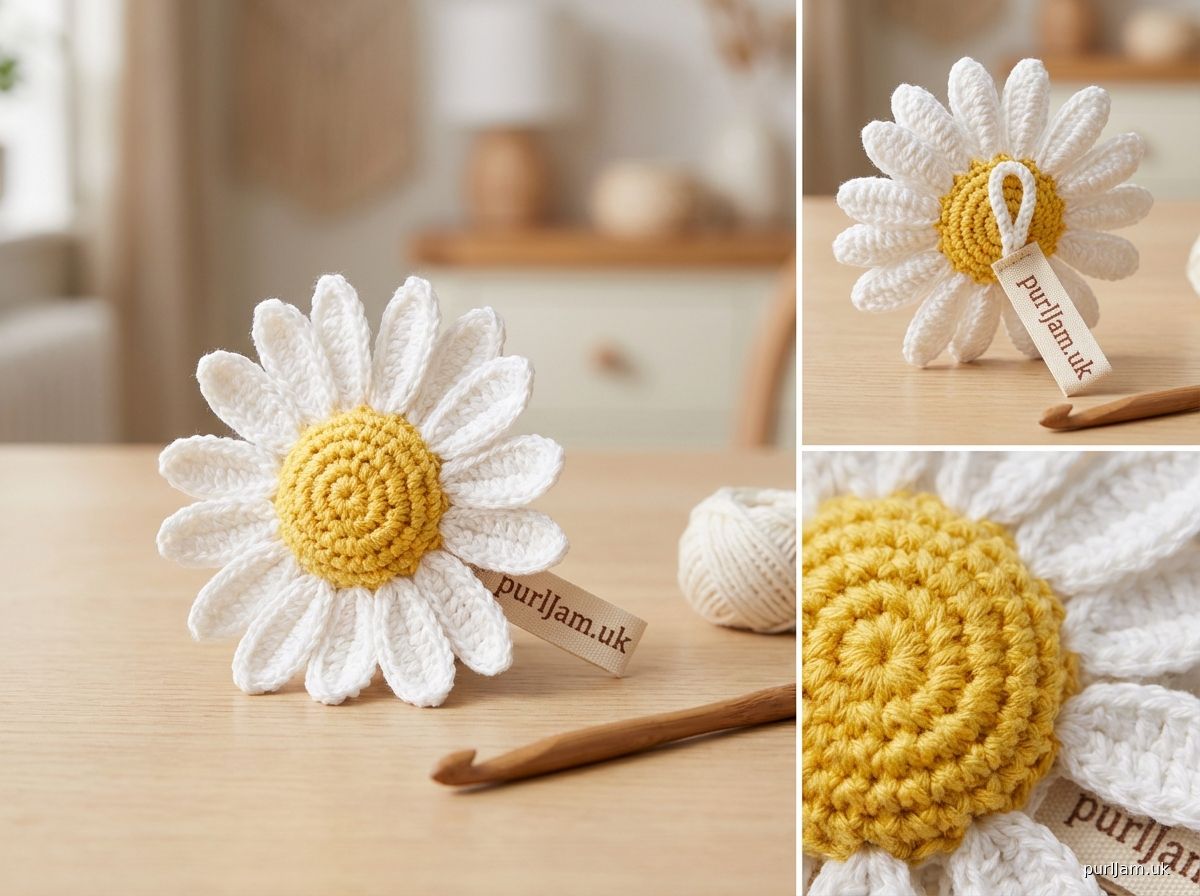
**Description**: A charming 5-inch (12.5 cm) square featuring a cheerful daisy motif, perfect for beginners learning machine knitting and duplicate stitch embroidery. This small project can be used as an appliqué patch, sewn onto bags or garments, made into a coaster, or combined with other squares for a larger project.
---
## MATERIALS
**Yarn**:
- **Main Color (MC)**: Worsted weight yarn in light blue, green, or desired background color, approximately 25 yards (23 m)
- **Contrast Color 1 (CC1)**: Worsted weight yarn in white or cream for daisy petals, approximately 5 yards (4.5 m)
- **Contrast Color 2 (CC2)**: Worsted weight yarn in yellow or gold for daisy center, approximately 2 yards (2 m)
**Machine**:
- Standard gauge (4.5mm) knitting machine
- No ribber required
- Suitable for punchcard, electronic, or manual machines
**Notions**:
- Waste yarn (contrasting color for cast-on)
- Ravel cord
- Cast-on comb and weights (approximately 3-4 oz total)
- Tapestry needle (blunt tip) for duplicate stitch and weaving ends
- Blocking board and pins or blocking wires
- Latch tool for bind-off
---
## TENSION/GAUGE
**Tension Dial Setting**: T7 (Main Bed)
**Resulting Gauge** (after light blocking):
- 5.5 stitches = 1 inch (2.5 cm)
- 7.5 rows = 1 inch (2.5 cm)
- Measured over stockinette stitch
**Gauge Swatch**: Always knit a test swatch before beginning. Cast on 30 stitches, knit 40 rows at T7, remove from machine, and measure. Adjust tension dial up (looser) or down (tighter) as needed.
---
## FINISHED DIMENSIONS
- Width: 5 inches (12.5 cm)
- Height: 5 inches (12.5 cm)
- A true square
---
## ABBREVIATIONS & TERMS
- **RC**: Row Counter
- **COL**: Carriage on Left
- **COR**: Carriage on Right
- **T**: Tension dial setting
- **MC**: Main Color
- **CC1**: Contrast Color 1 (white/cream)
- **CC2**: Contrast Color 2 (yellow/gold)
- **N**: Needle(s)
- **WY**: Waste Yarn
- **st(s)**: stitch(es)
---
## PATTERN NOTES
1. **Fabric Side**: Stockinette stitch on the machine produces smooth knit side facing away from you; this is the right side (RS) of the work.
2. **Duplicate Stitch**: This embroidery technique mimics a knitted stitch on top of existing knitting. You'll knit the entire square in MC, then add the daisy motif afterward using a tapestry needle and contrast yarns.
3. **Machine Setup**: This pattern uses the main bed only in standard knitting mode. No special carriage settings (slip, tuck, or partial knitting) are required for the knitting phase.
4. **Needle Arrangement**: Every needle (1×1) arrangement.
5. **Weight Placement**: Distribute weights evenly across the cast-on comb. Add an additional weight or two as the knitting progresses if fabric starts to pull up.
---
## INSTRUCTIONS
### MACHINE SETUP
1. Set tension dial to T7 on main bed.
2. Push carriage to right side (COR).
3. Set carriage to standard knitting mode (no slip, no tuck, no hold buttons engaged).
4. Set RC (row counter) to 000.
### CAST-ON
1. **Bring needles into work**: From center 0, count out 14 needles to the left and 14 needles to the right. Bring these 28 needles (N -14 to N +14) to D position (forward working position).
*Math check: 28 sts ÷ 5.5 sts/inch = 5.09 inches ✓*
2. **Waste yarn cast-on**:
- Using WY and closed latch cast-on method (or preferred waste yarn method), knit 8-10 rows of waste yarn.
- End with carriage on right (COR).
- Hang cast-on comb with weights evenly distributed across the 28 needles.
3. **Ravel cord**:
- Lay ravel cord (smooth cord or thread) across the needles in hooks.
- Knit 1 row with WY over the ravel cord. This marks the separation line.
- RC should still read 000 (don't count waste yarn rows).
4. **Join MC**:
- Thread carriage with MC.
- COR, RC 000.
### MAIN SQUARE
**Row 1 (RS)**: Knit from right to left. COL, RC 001.
**Row 2**: Knit from left to right. COR, RC 002.
**Continue knitting** in stockinette stitch (knit every row), moving carriage back and forth:
- RC 003-010: Knit 8 more rows. COR, RC 010.
- RC 011-020: Knit 10 rows. COR, RC 020.
- RC 021-030: Knit 10 rows. COR, RC 030.
- RC 031-038: Knit 8 rows. COR, RC 038.
*Math check: 38 rows ÷ 7.5 rows/inch = 5.07 inches ✓*
You now have a 5-inch square in stockinette stitch, smooth side facing away from you.
### BIND-OFF
1. **COR, RC 038**: Carriage is on right, knitting is complete.
2. **Latch tool bind-off**:
- Break MC, leaving a 12-inch (30 cm) tail.
- Using latch tool, work chain bind-off from right to left:
- Insert latch tool through stitch on N +14 (rightmost needle), remove needle from work.
- Insert tool through next stitch to left (N +13), remove that needle.
- Pull second stitch through first stitch.
- Continue across all 28 stitches.
- Pull yarn tail through final stitch and pull tight.
3. **Remove from machine**: Remove weights and comb. Gently pull ravel cord to release knitting from waste yarn. The square will come free with the waste yarn attached at bottom.
4. **Secure cast-on edge**:
- Thread tapestry needle with a fresh 12-inch (30 cm) length of MC.
- Work a running stitch or whip stitch along the open loops at the cast-on edge to secure them.
- Alternatively, use latch tool to create a chain stitch along the cast-on edge.
---
## DAISY MOTIF CHART
The daisy will be worked in duplicate stitch after knitting is complete. The motif is 13 stitches wide × 13 rows tall, centered on your square.
**Center Position**:
- Horizontally: Center of 28 sts is between st 14 and 15. Place motif center at st 14 (or 15).
- Vertically: Center of 38 rows is row 19. Place motif center at row 19.
**Chart Key**:
- Background (empty squares) = MC (already knitted, don't duplicate stitch these)
- W = White/Cream (CC1) for petals
- Y = Yellow/Gold (CC2) for center
```
Row 31: . . . . . W . . . W . . . . .
Row 30: . . . . W W W . W W W . . . .
Row 29: . . . W W . W . W . W W . . .
Row 28: . . . W . . . Y . . . W . . .
Row 27: . . W W . . Y Y Y . . W W . .
Row 26: . . W . . Y Y Y Y Y . . W . .
Row 25: . W W . . Y Y Y Y Y . . W W .
Row 24: . . W . . Y Y Y Y Y . . W . .
Row 23: . . W W . . Y Y Y . . W W . .
Row 22: . . . W . . . Y . . . W . . .
Row 21: . . . W W . W . W . W W . . .
Row 20: . . . . W W W . W W W . . . .
Row 19: . . . . . W . . . W . . . . .
```
**Chart Reading**: Bottom row is Row 19 (center of your square). Top row is Row 31. Each square represents one stitch.
**Placement Guide**:
- Bottom edge of chart (Row 19) = Row 19 of your knitted square (counting from cast-on edge)
- Left edge of chart = Stitch 8 (counting from right edge, or N +7 counting from center)
- Right edge of chart = Stitch 20 (counting from right edge, or N +7 to N -7)
---
## DUPLICATE STITCH TUTORIAL
Duplicate stitch (also called Swiss darning) covers an existing knit stitch with a new color, following the path of the original stitch.
**Supplies**:
- Tapestry needle (blunt tip)
- CC1 (white/cream) threaded on needle, approximately 24-inch (60 cm) length
- CC2 (yellow/gold) threaded on needle for center, approximately 18-inch (45 cm) length
**Technique**:
1. **Identify the right side**: The smooth, knit-side of stockinette faces you (the side that was facing away from you on the machine).
2. **Secure yarn**: Bring needle up from wrong side (back) at the base of the stitch you want to cover, leaving a 3-inch (7.5 cm) tail on the wrong side to weave in later. Do not knot.
3. **Duplicate the stitch**:
- Insert needle from right to left under both legs of the stitch directly ABOVE the stitch you're covering.
- Pull yarn through (not too tight).
- Insert needle back down at the base of the original stitch (where you came up), going to wrong side.
- This creates a "V" shape that covers the original stitch.
4. **Move to next stitch**:
- For a horizontal duplicate stitch (same row), bring needle up at the base of the next stitch to the left or right.
- For a vertical duplicate stitch (next row), bring needle up at the base of the stitch directly above or below.
5. **Follow the chart**:
- Start with CC2 (yellow) for the center cluster.
- Locate Row 24-26, stitches 10-15 (center of square, approximately).
- Work all yellow stitches first, weave in ends on wrong side.
- Thread needle with CC1 (white) and work all petal stitches.
- You can work in any order, but completing one color at a time is usually easier.
6. **Tension**: Keep duplicate stitches snug but not tight. They should lie smoothly over the original knitting without puckering.
---
## FINISHING
### WEAVING IN ENDS
1. On wrong side (purl side), use tapestry needle to weave all yarn tails vertically or horizontally through the backs of stitches for 2-3 inches (5-7.5 cm).
2. Weave each tail in a different direction for security.
3. Trim ends close to fabric (leave 1/4 inch or 0.5 cm).
### BLOCKING
1. **Wet Blocking** (recommended for best results):
- Fill a basin with lukewarm water.
- Submerge the square completely; let soak 10-15 minutes.
- Remove and gently squeeze out excess water (do not wring).
- Roll in a clean towel and press to remove more moisture.
2. **Pin to Blocking Board**:
- Lay square on blocking board or foam mat.
- Using rust-proof pins, pin all four corners first, measuring to ensure it's 5 × 5 inches (12.5 × 12.5 cm).
- Pin along each side, spacing pins every 1 inch (2.5 cm), gently stretching to achieve a perfect square.
- Allow to dry completely (12-24 hours).
3. **Steam Blocking** (alternative):
- Pin dry square to blocking board as described above.
- Hold steam iron 1-2 inches (2.5-5 cm) above fabric; steam thoroughly.
- Do not rest iron directly on knitting.
- Allow to dry completely before unpinning.
### OPTIONAL FINISHING
- **Coaster Use**: Back with felt or cork sheet using fabric glue.
- **Patch/Appliqué**: Use whip stitch or slip stitch to sew onto bag, pillow, or garment.
- **Multiple Squares**: Create several squares with different flower motifs and seam together for a cushion cover or lap blanket.
---
## DESIGN VARIATIONS
- **Different Flowers**: Adapt the chart for other simple flowers (sunflower, tulip, rose).
- **Color Changes**: Try a dark background with bright petals, or pastel rainbow petals.
- **Size Adjustments**: For a larger square, cast on 36
Disclaimer: This pattern was generated by AI and should be reviewed for accuracy before use. While we strive for quality, AI-generated content may contain errors. Please verify measurements, stitch counts, and instructions before beginning your project. Generated by purlJam.uk
Access your pattern anytime
Bookmark this page to access your pattern anytime