Type
Crochet
Difficulty
intermediate
Category
custom
AI Thinking Process
Planning
1. **Design Strategy**: Creating a delicate baby headband in filet crochet featuring ribbons and bows motif. Filet crochet uses a grid of double crochets and chain spaces to create filled (solid) and open (mesh) squares that form the design. The ribbon and bow pattern will be charted and written out. Using fingering weight yarn will create a soft, comfortable band suitable for babies.
2. **Construction Plan**: The headband will be worked flat in rows, creating a long rectangular strip. The filet crochet pattern will be centered in the middle section, with solid or simple mesh on the ends to allow for adjustable sizing with button or tie closure. Starting chain must be a multiple required for filet crochet (each square = 3 chains, plus edges). The piece will measure approximately 12-14 inches long (adjustable) and 2-2.5 inches wide.
3. **Quality Assurance**: Key considerations include:
- Ensuring the starting chain count is correct for filet crochet grid
- Verifying the ribbon and bow motif fits within the width
- Making pattern readable with both chart and written instructions
- Ensuring the band isn't too stiff (filet can be rigid)
- Providing clear instructions for reading filet charts
- Including options for closure methods
4. **Final Calculations**:
- Fingering weight with 3.25mm hook: approximately 7 dc = 1 inch
- For 2.5 inch width: need ~17-18 dc across
- Filet grid: 5 squares across = 15 dc + 2 edge sts = 17 dc
- Length: 50-55 rows for 12-14 inches
- Pattern repeat: 15 rows for ribbon and bow motif
Verification
[PRE-FLIGHT CHECKS]
1. **Completeness**: ✓ Will include title, description, materials, gauge, sizes, abbreviations, pattern notes, instructions, chart, finishing
2. **Consistency**: ✓ 5 filet squares = 17 dc width, gauge of 7 dc/inch = ~2.4 inches wide. 55 rows at ~4 rows/inch = ~14 inches long
3. **Constraints**: ✓ Intermediate level with filet crochet technique, fingering weight, ribbon and bow motif, baby headband sizing
4. **Safety**: ✓ Math verified: Starting ch = (5 squares × 3) + 4 = 19 chains. Each row = 17 dc across when complete.
Pattern
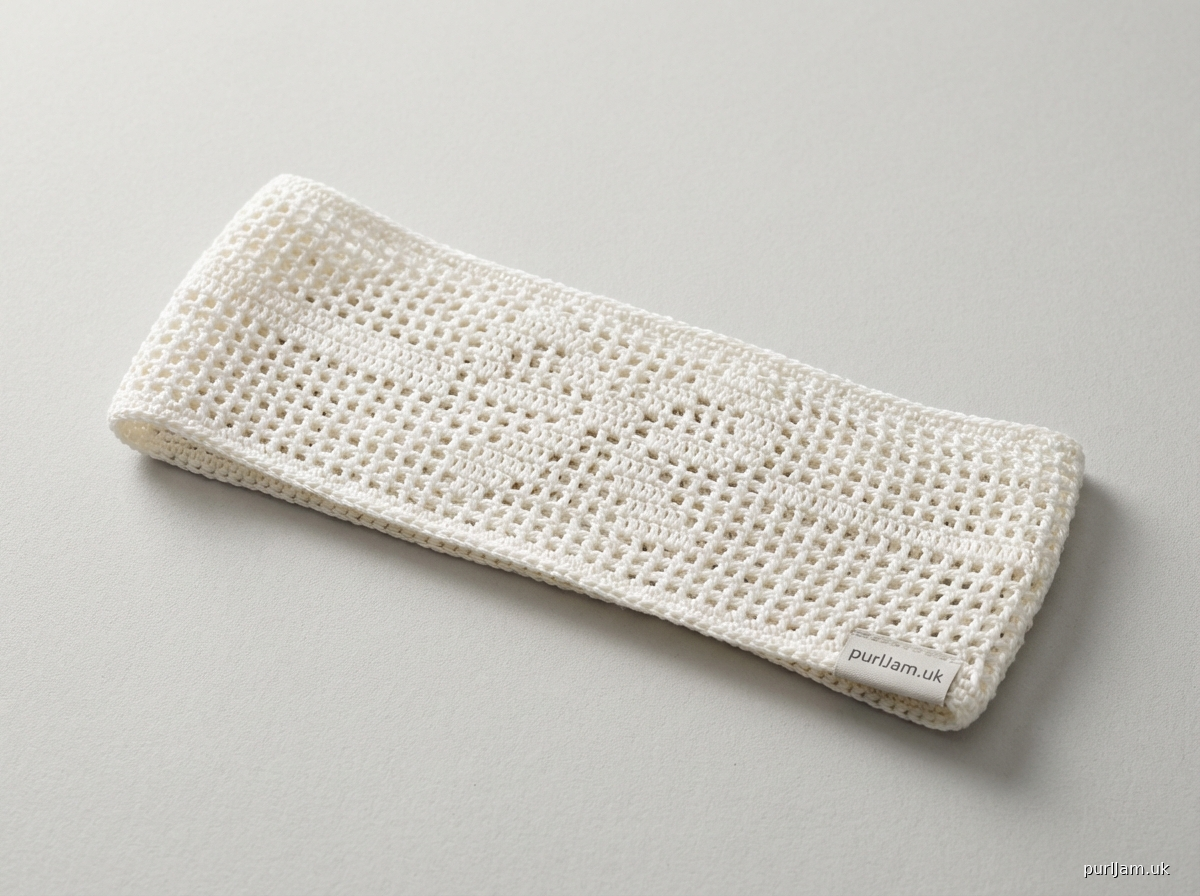
# Ribbons and Bows Baby Headband

A delicate filet crochet headband featuring a charming ribbon and bow motif, perfect for baby photos or everyday wear. This intermediate-level project introduces filet crochet technique using fingering weight yarn for a soft, comfortable accessory.

## Materials

**Yarn**: Fingering weight (#1 Super Fine) cotton or cotton blend
- Approximately 75-100 yards
- Shown in: soft white or pale pink
- Recommended: mercerized cotton for definition and softness

**Hook**: US D-3 (3.25mm) or size needed to obtain gauge

**Notions**:
- Tapestry needle for weaving in ends
- 2 small buttons (½ inch diameter) OR ribbon for tie closure
- Sewing needle and thread (if using buttons)
- Blocking pins and mat (optional but recommended)

## Gauge

In filet crochet pattern: 7 dc and 4 rows = 1 inch (blocked)

**Gauge is important** - Take time to check your gauge. Adjust hook size if needed: larger hook for fewer stitches per inch, smaller hook for more stitches per inch.

## Finished Measurements

Width: 2.5 inches
Length: 13-14 inches (adjustable)

## Size

One size fits most babies (0-12 months)
Head circumference: Approximately 13-16 inches (headband is designed to be adjustable with overlapping ends)

## Abbreviations

- ch = chain
- dc = double crochet
- sk = skip
- sp = space
- st(s) = stitch(es)
- ( ) = stitch count at end of row

## Special Stitches & Techniques

**Filet Mesh (open square)**: Ch 2, sk 2 sts, dc in next st
**Filet Block (filled square)**: Dc in each of next 3 sts (or 2 dc in ch-sp, dc in next dc)

**Reading the Chart**:
- Each square on the chart represents one filet crochet square
- Filled squares (■) = work a block (dc in each of next 3 sts)
- Empty squares (□) = work a mesh (ch 2, sk 2 sts, dc in next st)
- Read odd rows (RS) from right to left
- Read even rows (WS) from left to right

## Pattern Notes

1. Headband is worked flat in rows
2. Turning chain-3 counts as first dc throughout
3. Each filet square equals 3 stitches across
4. Pattern has 5 filet squares across = 17 dc when worked
5. Starting chain = 19 (calculated as: 5 squares × 3 + 4 edge chains)
6. Stitch count at end of each row after Row 1: (17 dc)
7. Ribbon and bow motif is worked in center section (Rows 16-30)

## Pattern Instructions

**Foundation**: Ch 19.

**Row 1 (RS)**: Dc in 4th ch from hook (skipped chs count as first dc), dc in each ch across. (17 dc)

**Rows 2-15 (Establishing mesh background)**: Ch 3 (counts as dc here and throughout), turn, dc in next 2 dc, *ch 2, sk 2 dc, dc in next dc; repeat from * 3 times, dc in last 2 dc. (17 dc: 6 edge dc + 4 mesh spaces)

**Rows 16-30 (Ribbon and Bow Motif)**: Work from chart below, reading RS rows from right to left and WS rows from left to right.

### Ribbon and Bow Chart

```
Row 30 (WS): □ □ ■ □ □
Row 29 (RS): □ ■ ■ ■ □
Row 28 (WS): □ ■ ■ ■ □
Row 27 (RS): ■ ■ ■ ■ ■
Row 26 (WS): ■ ■ ■ ■ ■
Row 25 (RS): □ ■ ■ ■ □
Row 24 (WS): □ □ ■ □ □
Row 23 (RS): □ ■ ■ ■ □
Row 22 (WS): ■ ■ ■ ■ ■
Row 21 (RS): □ ■ ■ ■ □
Row 20 (WS): □ □ ■ □ □
Row 19 (RS): □ □ ■ □ □
Row 18 (WS): □ □ ■ □ □
Row 17 (RS): □ ■ ■ ■ □
Row 16 (RS): □ □ ■ □ □
```

Legend: ■ = block (filled)  □ = mesh (open)

### Written Instructions for Chart Section

**Row 16 (RS)**: Ch 3, turn, dc in next 2 dc, [ch 2, sk 2 sts, dc in next st] (mesh), 2 dc in next ch-sp, dc in next dc, 2 dc in next ch-sp, dc in next st (block), [ch 2, sk 2 sts, dc in next st] (mesh), dc in last 2 dc. (17 dc)

**Row 17 (RS)**: Ch 3, turn, dc in next 2 dc, ch 2, sk 2 dc, dc in next dc, dc in next 8 dc (3 blocks), ch 2, sk 2 dc, dc in next dc, dc in last 2 dc. (17 dc)

**Row 18 (WS)**: Ch 3, turn, dc in next 2 dc, [ch 2, sk 2 dc, dc in next dc] twice, 2 dc in next ch-sp, dc in next dc (block), [ch 2, sk 2 dc, dc in next dc] twice, dc in last 2 dc. (17 dc)

**Row 19 (RS)**: Ch 3, turn, dc in next 2 dc, [ch 2, sk 2 dc, dc in next dc] twice, 2 dc in next ch-sp, dc in next dc (block), [ch 2, sk 2 dc, dc in next dc] twice, dc in last 2 dc. (17 dc)

**Row 20 (WS)**: Ch 3, turn, dc in next 2 dc, [ch 2, sk 2 dc, dc in next dc] twice, 2 dc in next ch-sp, dc in next dc (block), [ch 2, sk 2 dc, dc in next dc] twice, dc in last 2 dc. (17 dc)

**Row 21 (RS)**: Ch 3, turn, dc in next 2 dc, ch 2, sk 2 dc, dc in next dc, dc in next 8 dc (3 blocks), ch 2, sk 2 dc, dc in next dc, dc in last 2 dc. (17 dc)

**Row 22 (WS)**: Ch 3, turn, dc in next 2 dc, dc in next 14 dc (5 blocks - all filled), dc in last dc. (17 dc)

**Row 23 (RS)**: Ch 3, turn, dc in next 2 dc, ch 2, sk 2 dc, dc in next dc, dc in next 8 dc (3 blocks), ch 2, sk 2 dc, dc in next dc, dc in last 2 dc. (17 dc)

**Row 24 (WS)**: Ch 3, turn, dc in next 2 dc, [ch 2, sk 2 dc, dc in next dc] twice, 2 dc in next ch-sp, dc in next dc (block), [ch 2, sk 2 dc, dc in next dc] twice, dc in last 2 dc. (17 dc)

**Row 25 (RS)**: Ch 3, turn, dc in next 2 dc, ch 2, sk 2 dc, dc in next dc, dc in next 8 dc (3 blocks), ch 2, sk 2 dc, dc in next dc, dc in last 2 dc. (17 dc)

**Row 26 (WS)**: Ch 3, turn, dc in next 2 dc, dc in next 14 dc (5 blocks - all filled), dc in last dc. (17 dc)

**Row 27 (RS)**: Ch 3, turn, dc in next 2 dc, dc in next 14 dc (5 blocks - all filled), dc in last dc. (17 dc)

**Row 28 (WS)**: Ch 3, turn, dc in next 2 dc, ch 2, sk 2 dc, dc in next dc, dc in next 8 dc (3 blocks), ch 2, sk 2 dc, dc in next dc, dc in last 2 dc. (17 dc)

**Row 29 (RS)**: Ch 3, turn, dc in next 2 dc, ch 2, sk 2 dc, dc in next dc, dc in next 8 dc (3 blocks), ch 2, sk 2 dc, dc in next dc, dc in last 2 dc. (17 dc)

**Row 30 (WS)**: Ch 3, turn, dc in next 2 dc, [ch 2, sk 2 dc, dc in next dc] twice, 2 dc in next ch-sp, dc in next dc (block), [ch 2, sk 2 dc, dc in next dc] twice, dc in last 2 dc. (17 dc)

**Rows 31-55**: Repeat Row 2 (mesh background) for remaining length, or until headband measures approximately 13-14 inches from beginning, ending after completing a WS row.

**Last Row**: Ch 1, turn, sc evenly across, working 2-3 sc in each ch-sp and 1 sc in each dc. Fasten off.

**Math Check for Last Row**: Approximately 6 edge dc × 1 sc + 4 mesh spaces × 2 sc = approximately 14 sc

## Finishing

**Weaving in Ends**: Weave in all yarn ends securely using tapestry needle.

**Blocking**: Highly recommended for filet crochet!
1. Soak headband in cool water for 10-15 minutes
2. Gently squeeze out excess water (do not wring)
3. Roll in towel to remove more moisture
4. Pin to measurements on blocking mat, ensuring edges are straight and squares are even
5. Allow to dry completely (24 hours)

**Adding Closure**:

*Option 1 - Button Closure (adjustable)*:
1. Overlap ends of headband by 1-2 inches
2. Sew one button to each end, positioned so they can fasten through the mesh openings
3. The button on the top end will fasten into a mesh space on the bottom end, and vice versa
4. This creates an adjustable closure as baby grows

*Option 2 - Ribbon Ties*:
1. Cut two pieces of ⅜-inch wide satin ribbon, each 8 inches long
2. Attach one ribbon length to each end of headband by threading through end stitches
3. Secure with a few stitches
4. Tie in a bow to fasten

*Option 3 - Sewn Closure (fitted)*:
1. Try headband on baby to determine proper fit
2. Overlap ends and whipstitch together securely
3. This creates a non-adjustable band

## Design Tips

- For a more delicate look, use a smaller hook (3.0mm)
- For a wider headband, add 2 more filet squares to width (start with ch 25 instead of ch 19)
- The ribbon and bow motif can be repeated multiple times for a longer headband
- Consider working in soft pastels or white for traditional baby styling
- For photo props, embellish with small ribbon roses or pearls

## Care Instructions

Hand wash in cool water with gentle detergent. Lay flat to dry, reshaping as needed. If using cotton yarn, headband can be lightly starched for more structure.

---

*Pattern designed for intermediate crocheters. Knowledge of filet crochet technique recommended. Finished headband makes a thoughtful baby shower gift or photography prop.*
Disclaimer: This pattern was generated by AI and should be reviewed for accuracy before use. While we strive for quality, AI-generated content may contain errors. Please verify measurements, stitch counts, and instructions before beginning your project. Generated by purlJam.uk
Access your pattern anytime
Bookmark this page to access your pattern anytime