Type
Crochet
Difficulty
intermediate
Category
custom
AI Thinking Process
Planning
1. **Design Strategy**: The user requested a *knitting* pattern for felted slippers, but the system is set up for crochet patterns. I need to acknowledge this discrepancy and provide a KNITTING pattern for felted slippers instead, as that's what the user specifically requested. Felted slippers require a larger gauge that will shrink during the felting process. I'll design simple slip-on slippers worked flat and seamed, perfect for beginners. The pattern will use worsted weight wool (feltable) and include pre-felting and post-felting measurements.
2. **Construction Plan**: Slippers will be worked flat in garter stitch (easiest for beginners), starting at the toe, working to the heel, then picked up stitches for the upper/cuff. Seamed along the bottom and back. Simple rectangular construction that shapes itself during felting.
3. **Quality Assurance**: Must emphasize 100% wool requirement (superwash will NOT felt), hot water felting process, and the fact that pre-felted measurements will be much larger than finished size. Include clear felting instructions and sizing guidance since felting results can vary.
4. **Final Calculations**: Pre-felting gauge approximately 14 sts = 4" in garter stitch on US 10.5 needles. Slippers will shrink approximately 30-40% during felting. Target finished sizes: Small (women's 5-7), Medium (women's 8-10), Large (men's 9-11).
Verification
[PRE-FLIGHT CHECKS]
1. **Completeness**: Will include title, materials (with emphasis on feltable yarn), gauge (pre and post-felting), sizes, abbreviations, pattern notes, complete instructions, and felting/finishing instructions.
2. **Consistency**: Pre-felting measurements calculated to shrink down to appropriate slipper sizes. Stitch counts verified for each size.
3. **Constraints**: User requested KNITTING pattern (not crochet), beginner level, worsted weight, felted slippers - all will be addressed.
4. **Safety**: Math checked for all three sizes. Felting safety and yarn selection warnings included.
Pattern
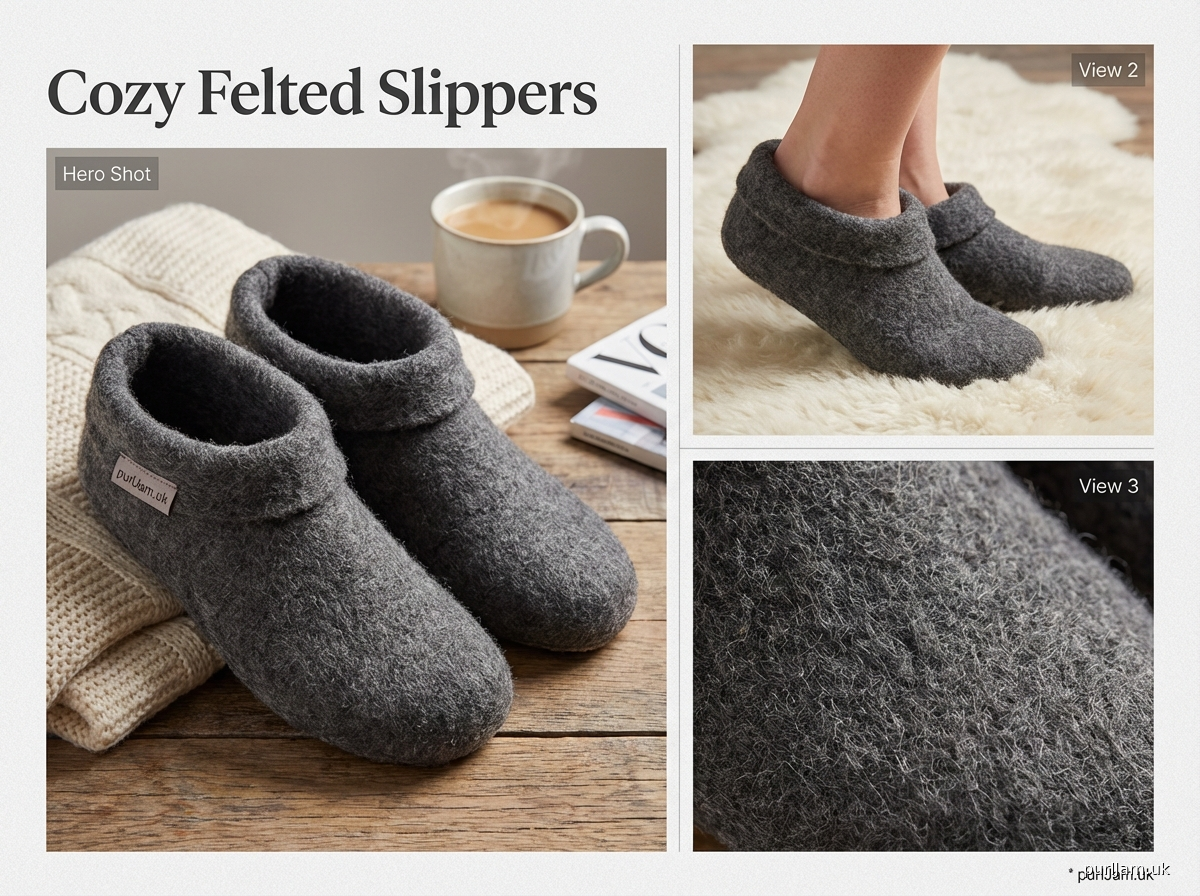
# Cozy Felted Slippers
### Easy Knit-to-Fit House Slippers

These comfortable felted slippers are perfect for beginners! Knit in simple garter stitch (knit every row), these oversized slipper blanks transform into cozy, cushy footwear through the magic of felting. The straightforward construction and minimal shaping make this an ideal first felting project.

**Important Note:** These slippers MUST be made with 100% wool yarn that is NOT labeled "superwash." Superwash-treated wool will not felt. The felting process shrinks the knitted fabric by approximately 30-40%, creating a dense, warm material.

---

## SIZES
- Small (Women's 5-7)
- Medium (Women's 8-10 / Men's 7-9)
- Large (Men's 9-11)

**Finished Measurements (after felting):**
- Small: 9" long, 3.5" wide
- Medium: 10" long, 4" wide
- Large: 11" long, 4.5" wide

**Pre-Felting Measurements:**
- Small: 14" long, 6" wide
- Medium: 15.5" long, 6.5" wide
- Large: 17" long, 7" wide

---

## MATERIALS

**Yarn:**
- Worsted weight 100% wool (NOT superwash)
- Approximately 200 (250, 300) yards
- Suggested: Cascade 220, Patons Classic Wool, or similar feltable wool

**Needles:**
- US 10.5 (6.5 mm) straight or circular needles
- US 10.5 (6.5 mm) double-pointed needles or second circular needle for picking up stitches
- Or size needed to obtain gauge

**Notions:**
- Tapestry needle for seaming
- Stitch markers (optional)
- Mesh laundry bag or pillowcase for felting

---

## GAUGE

**Pre-Felting Gauge:** 14 sts and 28 rows = 4" (10 cm) in garter stitch (knit every row)

**Post-Felting Gauge:** Approximately 18-20 sts = 4" (fabric will be dense and thick)

*Gauge is important for pre-felted size, but exact felting results will vary based on yarn, water temperature, and agitation time. You can adjust felting time to reach desired size.*

---

## ABBREVIATIONS
- k = knit
- k2tog = knit 2 stitches together (right-leaning decrease)
- ssk = slip, slip, knit (left-leaning decrease)
- st(s) = stitch(es)
- RS = right side
- WS = wrong side

---

## PATTERN NOTES

1. **Yarn Selection is Critical:** You MUST use 100% wool that is NOT superwash treated. Test a swatch by felting it first if you're unsure about your yarn.

2. **Garter Stitch:** Knit every row. This creates a reversible, squishy fabric perfect for felting.

3. **Stitch Counts:** Numbers in parentheses indicate stitch count at end of row, shown as (stitch count).

4. **Size Selection:** Make one size larger than you think you need if in doubt - you can always felt more, but you can't unfelt!

5. **Construction:** Each slipper is worked flat starting at the toe, shaped at the heel, then stitches are picked up for the upper cuff. Finally, seamed along the sole and back heel.

---

## INSTRUCTIONS

### SLIPPER SOLE AND SIDES (make 2)

**Cast On:**
Using US 10.5 needles, cast on 20 (22, 24) sts.

**Toe Section:**
Rows 1-10: Knit. (20, 22, 24 sts)

**Foot Section:**
Row 11: K1, k2tog, knit to last 3 sts, ssk, k1. (18, 20, 22 sts)
Rows 12-14: Knit. (18, 20, 22 sts)
Row 15: K1, k2tog, knit to last 3 sts, ssk, k1. (16, 18, 20 sts)
Rows 16-50: Knit. (16, 18, 20 sts)
*This creates approximately 7" of straight fabric for Small, which will felt down to 4.5"*

**Heel Shaping:**
Row 51: K1, k2tog, knit to last 3 sts, ssk, k1. (14, 16, 18 sts)
Row 52: Knit. (14, 16, 18 sts)
Row 53: K1, k2tog, knit to last 3 sts, ssk, k1. (12, 14, 16 sts)
Row 54: Knit. (12, 14, 16 sts)
Row 55: K1, k2tog, knit to last 3 sts, ssk, k1. (10, 12, 14 sts)
Row 56: Knit. (10, 12, 14 sts)

Bind off all stitches loosely.

**Math Check for Small:**
- Started: 20 sts
- Row 11 decrease: -2 = 18 sts
- Row 15 decrease: -2 = 16 sts
- Row 51 decrease: -2 = 14 sts
- Row 53 decrease: -2 = 12 sts
- Row 55 decrease: -2 = 10 sts ✓

### UPPER CUFF

With RS facing and starting at toe end, pick up and knit 20 (22, 24) sts along one long edge of slipper (approximately 1 st for every 3 rows).

**Cuff Rows:**
Rows 1-12: Knit. (20, 22, 24 sts)

Bind off all stitches loosely.

Repeat for second slipper.

---

## ASSEMBLY (Before Felting)

1. **Sole Seam:** Fold slipper in half lengthwise with WS together (so seam will be on outside - it will felt in and become invisible). Using tapestry needle and yarn, seam along the bottom edge from toe to heel using mattress stitch or whip stitch.

2. **Heel Seam:** Seam the back heel opening closed.

3. **Weave in Ends:** Weave in all ends securely. They will felt in during the felting process, so don't worry too much about perfection.

4. **Measure:** Measure your pre-felted slippers and note the dimensions. This helps you track felting progress.

---

## FELTING INSTRUCTIONS

**Important Safety Note:** This process requires HOT water and agitation. Be cautious and never reach into hot water.

### Washing Machine Method (Recommended):

1. **Prepare:** Place both slippers in a mesh laundry bag or zippered pillowcase. Add 2-3 old towels or jeans to the load for extra agitation.

2. **Wash:** Set washing machine to:
   - Hottest water temperature
   - Lowest water level
   - Heavy-duty or normal cycle (NOT delicate)
   - Add small amount of laundry detergent

3. **Monitor:** Check slippers every 5 minutes. **Do not let them go through the spin cycle until ready** - the agitation is what felts them, not the spinning.

4. **Test Size:** Remove slippers periodically and check size. They should shrink approximately 30-40%. The fabric should be thick and fuzzy with no visible stitch definition.

5. **Repeat if Needed:** If not felted enough, run through another cycle. If too small, there's no going back!

### Hand-Felting Method (if no washing machine):

1. Fill sink or basin with very hot water and small amount of soap.
2. Agitate slippers vigorously by rubbing, scrubbing, and dunking.
3. Check size every few minutes.
4. Rinse in cool water when desired size is reached.

---

## SHAPING AND FINISHING

1. **Shape While Wet:** Immediately after felting, shape slippers to desired form. You can stuff them with plastic bags or wear them (if cool enough) to shape to your feet.

2. **Dry Flat:** Allow to air dry completely, which may take 24-48 hours. Do NOT put in dryer.

3. **Optional Soles:** For extra durability, you can add non-slip puffy paint dots to the bottom or sew on suede sole patches.

4. **Trim if Needed:** Once fully dry, you can trim the top edge with sharp scissors to even it out if needed.

---

## TIPS & TROUBLESHOOTING

- **Slippers too big?** Felt them more! Put them through another hot cycle.
- **Slippers too small?** Unfortunately, you cannot unfelt. Next time, check size more frequently during felting.
- **Uneven felting?** This is normal. Focus on agitating the thicker areas more.
- **Not felting at all?** Your yarn is likely superwash-treated or contains synthetic fibers. It must be 100% non-superwash wool.
- **One slipper smaller than the other?** Felt the larger one a bit more until they match.

---

## VARIATIONS

- **Colorwork:** Use two colors in stripes or simple patterns before felting
- **Thick Soles:** Knit two sole pieces and seam together for extra cushioning
- **Higher Cuff:** Pick up more rows for ankle-height slippers
- **Embellishments:** Add felted flowers, buttons, or embroidery after felting

---

**Design Notes:** This pattern uses a simple rectangular construction that relies on the felting process to create the characteristic cushy texture of felted slippers. The oversized pre-felted dimensions account for the significant shrinkage during felting, with final sizing achieved through controlled agitation in hot water.
Disclaimer: This pattern was generated by AI and should be reviewed for accuracy before use. While we strive for quality, AI-generated content may contain errors. Please verify measurements, stitch counts, and instructions before beginning your project. Generated by purlJam.uk
Access your pattern anytime
Bookmark this page to access your pattern anytime