Type
Machine Knitting
Difficulty
intermediate
Category
hat
AI Thinking Process
Planning
1. **Design Strategy**:
- Baby's hat in worsted weight requires a small circumference (approx. 14–16" / 35.5–40.5 cm for 0–6 months)
- Ribbed brim for stretch and fit, straight body section, simple gathered crown for beginner-friendly construction
- Template calls for flat-bed machine with optional ribber; will provide instructions for both ribber and non-ribber methods
- Beginner level means clear step-by-step instructions, minimal shaping complexity, straightforward finishing
2. **Construction Plan**:
- Bottom-up construction: ribbed brim → straight body → crown shaping → gather top
- Cast on with waste yarn + ravel cord for clean edge
- Ribbed brim using ribber (or mock rib if no ribber available)
- Straight knitting for body section
- Crown shaping via every-other-needle decrease method, then final gather
- Seam with mattress stitch or invisible seam
3. **Quality Assurance**:
- Address potential issues: baby yarn tends to be soft/slippery (recommend claw weights)
- Ensure brim has adequate negative ease for secure fit without being too tight
- Crown shaping must be gradual enough to avoid bunching
- Clear RC checkpoints to prevent knitter from losing place
- Verify all stitch counts at transitions
4. **Final Calculations**:
- Target circumference: 15" (38 cm) for 3–6 month size
- Standard gauge worsted on standard machine: approximately 5.5 sts/inch, 7.5 rows/inch
- Stitch count: 15" × 5.5 = 82.5, round to 84 sts (divisible by 2 for ribber)
- Brim height: 1.5" (3.8 cm) = ~11 rows
- Body height: 4" (10 cm) = ~30 rows
- Crown shaping: 2" (5 cm) = ~15 rows
- Total height: ~7.5" (19 cm)
Verification
[PRE-FLIGHT CHECKS]
1. **Completeness**:
✓ TITLE - Yes
✓ MACHINE_SETUP - Yes
✓ MATERIALS - Yes
✓ GAUGE_AND_TENSION - Yes
✓ RIBBED_BRIM - Yes
✓ BODY_ROWS - Yes
✓ CROWN_SHAPING - Yes
✓ FINISHING - Yes
✓ ABBREVIATIONS - Yes
2. **Consistency**:
✓ 84 sts at 5.5 sts/inch = 15.27" circumference (appropriate for baby 3–6 months)
✓ Row counts verified: Brim 11 rows + Body 30 rows + Crown 15 rows = 56 total rows
✓ Decrease math: 84 → 42 → 21 → gather (divisible transitions)
3. **Constraints**:
✓ Beginner-friendly language and step-by-step instructions
✓ Worsted weight yarn specified
✓ Template structure followed exactly
✓ Machine-specific terminology (RC, COL/COR, tension dials) included throughout
4. **Safety**:
✓ All stitch counts verified
✓ RC checkpoints clearly marked
✓ Carriage position specified at each step
✓ Weight and tension settings included
Pattern
<pattern>
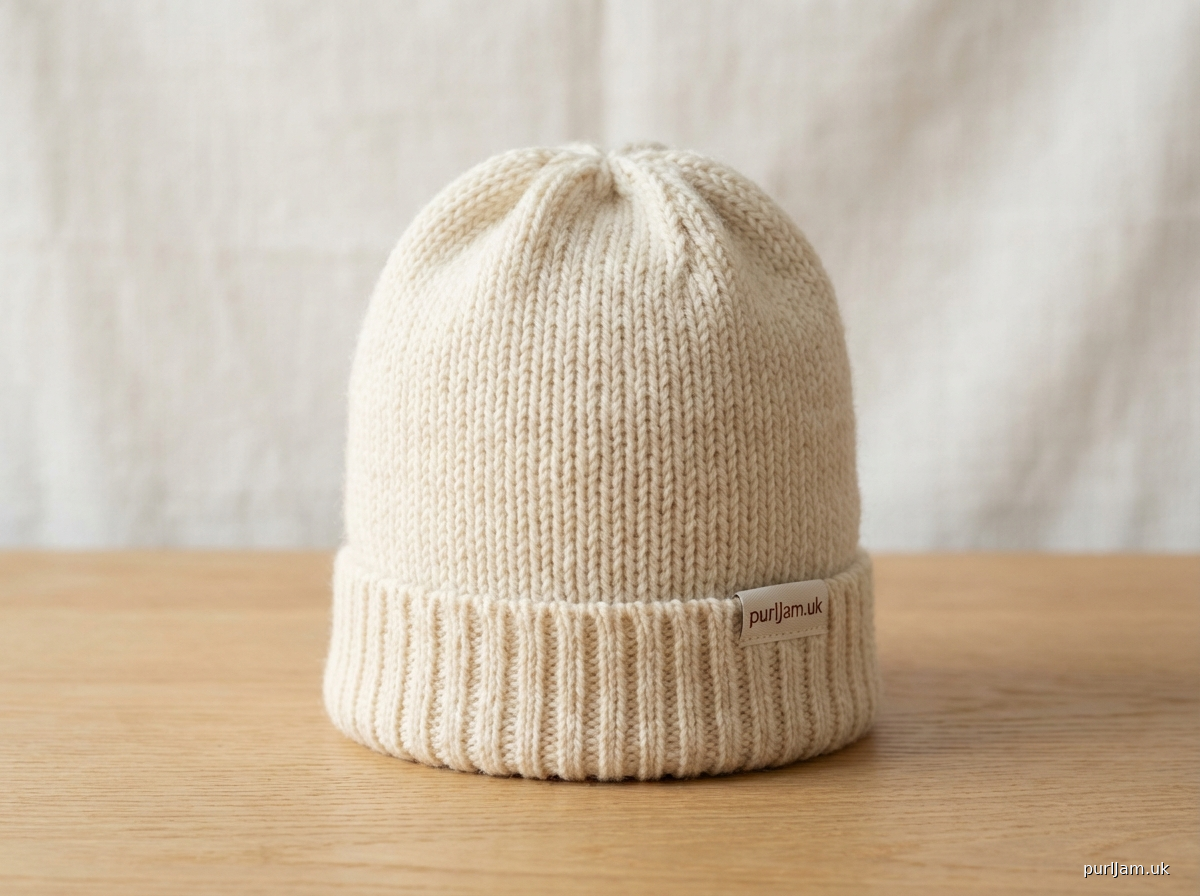
# BABY'S RIBBED BEANIE
**Machine-Knit Pattern – Beginner Level**
**Finished Size**: 15" (38 cm) circumference × 7.5" (19 cm) height
**Fits**: Baby 3–6 months
**Construction**: Bottom-up, seamed or circular finish
---
## MACHINE_SETUP
**Machine Type**: Standard or mid-gauge flat-bed knitting machine with optional ribber attachment
**Bed Configuration**:
- **With Ribber**: Main bed (MB) and ribber bed (RB) set to half-pitch. Bed spacing at 5 (metric scale).
- **Without Ribber**: Main bed only; mock rib will be created using needle arrangement.
**Carriage & Levers**:
- Main carriage set to stockinette (both part buttons released)
- Ribber carriage engaged if using ribber
- Change knob on N (normal) for stockinette, or appropriate setting for your machine's rib configuration
**Needle Arrangement** (with ribber):
- 84 needles total: 42 on main bed, 42 on ribber
- Main bed: Every other needle from left of 0 to right of 0 (21 needles each side)
- Ribber: Corresponding alternate needles
**Needle Arrangement** (without ribber):
- 84 needles in work across main bed (42 left of center, 42 right of center)
**Initial Settings**:
- Tension dial MB: T6 for waste yarn, T7 for main yarn (adjust per your machine and yarn)
- Tension dial RB: T5 for ribbing (if using ribber)
- Row counter: Reset to RC000 before cast-on
- Carriage position: Start COL (carriage on left)
**Tools Required**:
- Waste yarn (contrasting color, similar weight)
- Ravel cord (smooth nylon or cotton cord)
- Cast-on comb (or evenly distributed claw weights)
- 2–3 claw weights (approx. 30–50g each)
- Transfer tool (single or 3-prong)
- Latch tool
- Tapestry needle for seaming
---
## MATERIALS
**Yarn**: Worsted weight (#4 Medium), soft and washable
**Suggested Fiber**: Superwash merino, acrylic, or cotton blend suitable for babies
**Yardage**: Approx. 80–100 yards (73–91 m)
**Sample Yarn**: Baby-safe worsted at approximately 200 yds/100g
**Notions**:
- Tapestry needle
- Stitch markers (optional, for tracking)
- Optional: small pom-pom (1.5–2" / 4–5 cm diameter)
---
## GAUGE_AND_TENSION
**Gauge** (measured after light steaming, in stockinette):
- **5.5 stitches** and **7.5 rows** = 1" (2.5 cm)
**Tension Settings**:
- Main bed stockinette: **T7**
- Ribber bed (if used): **T5**
- Adjust tension as needed for your specific machine and yarn; swatch first
**To Check Gauge**:
1. Cast on 60 stitches on main bed at T7.
2. Knit 60 rows in stockinette.
3. Remove from machine, steam lightly, measure center 4" (10 cm) square.
4. Adjust tension dial up (looser) or down (tighter) to achieve gauge.
**Math Check**:
84 sts ÷ 5.5 sts/inch = **15.27"** circumference ✓
(Negative ease: baby head ~16–17", hat will stretch comfortably)
---
## RIBBED_BRIM
**Objective**: Create a stretchy ribbed brim approximately 1.5" (3.8 cm) tall.
### Cast-On (Waste Yarn Method)
**RC000. COL.**
1. **Waste Yarn Rows**:
- Thread waste yarn through main tension mast at T6.
- Bring 84 needles into B position (42 left of center, 42 right).
- **With ribber**: Bring corresponding alternate needles into work on ribber (42 needles). **Without ribber**: Use all 84 needles on main bed only.
- E-wrap cast-on or closed cast-on across all needles in work.
- Hang cast-on comb evenly across needles.
- Knit 8 rows waste yarn, ending COL.
- Hang ravel cord (lay across all needles, knit 1 row to secure).
- Knit 6 more rows waste yarn. **RC000 (reset counter). COL.**
2. **Change to Main Yarn**:
- Remove waste yarn from tension mast.
- Thread main yarn at **T7 (main bed)** and **T5 (ribber)** if using ribber.
- Attach claw weights evenly (approx. 1 weight per 30 stitches).
### Rib Configuration
**With Ribber (1×1 Rib)**:
**RC000. COL.**
3. **Knit Ribbing**:
- Engage ribber carriage.
- Set ribber lever to slip or appropriate rib setting (consult your machine manual for 1×1 rib).
- Knit **11 rows** (approximately 1.5" / 3.8 cm). **RC011. COL.**
- Check fabric: ribbing should be snug but stretchy.
**Without Ribber (Mock Rib)**:
**RC000. COL.**
3. **Knit Mock Ribbing**:
- Bring every other needle out of work (hold in A position) to create texture.
- Knit **22 rows** (mock rib compresses vertically, so more rows needed). **RC022. COL.**
- Return all needles to B position for body.
**Checkpoint**:
Brim measures approximately 1.5" (3.8 cm) from ravel cord. Fabric is stretchy and even.
---
## BODY_ROWS
**Objective**: Knit straight stockinette body section, 4" (10 cm) tall.
### Transfer to Stockinette (if using ribber)
**RC011 (or RC022 if mock rib). COL.**
4. **Transfer Ribber Stitches to Main Bed**:
- Using transfer tool, carefully transfer each stitch from ribber bed to corresponding main bed needle.
- You will now have 84 stitches on main bed, 2 stitches per needle on 42 needles.
- **Alternative**: If you prefer to continue on ribber with both beds knitting plain stockinette, set both beds to knit every needle and continue. For this pattern, we transfer to main bed only.
5. **Redistribute Stitches** (if transferred):
- Using transfer tool, move stitches so that all 84 needles across main bed hold 1 stitch each.
- Distribute evenly: 42 needles left of center, 42 needles right of center.
- Re-check claw weights; adjust to hang evenly.
**RC000 (reset counter after brim complete). COL.**
### Knit Body
6. **Stockinette Body**:
- Main bed tension: **T7**
- Carriage set to stockinette (both part buttons released, normal knit).
- Knit **30 rows** stockinette. **RC030. COL.**
- Fabric should measure approximately 4" (10 cm) from top of brim.
**Math Check**:
30 rows ÷ 7.5 rows/inch = **4"** ✓
**Checkpoint**:
Total hat height from cast-on edge: 1.5" brim + 4" body = 5.5" (14 cm). Crown shaping will add ~2" (5 cm).
---
## CROWN_SHAPING
**Objective**: Decrease stitches gradually to shape crown, then gather remaining stitches.
**RC030. COL.**
### First Decrease Round
7. **Decrease to 42 Stitches**:
- **Method**: Transfer every other stitch to adjacent needle, then push empty needles out of work.
- Starting from left side:
- Transfer stitch from needle 1 to needle 2 (using transfer tool).
- Push needle 1 to A position (out of work).
- Transfer stitch from needle 3 to needle 4, push needle 3 out of work.
- Continue across all 84 needles: transfer odd-numbered stitches to even-numbered needles.
- **Result**: 42 stitches remain in work, 42 needles in A position.
- Re-distribute claw weights if needed.
8. **Knit Rows**:
- Knit **8 rows** stockinette at T7. **RC038. COL.**
**Math Check**:
8 rows ÷ 7.5 rows/inch ≈ **1.07"** ✓
### Second Decrease Round
**RC038. COL.**
9. **Decrease to 21 Stitches**:
- Transfer every other remaining stitch to adjacent needle.
- Starting from left side of remaining 42 needles:
- Transfer stitch from first needle to second needle.
- Push first needle out of work.
- Continue across: transfer alternate stitches.
- **Result**: 21 stitches remain in work.
10. **Knit Rows**:
- Knit **6 rows** stockinette at T7. **RC044. COL.**
**Math Check**:
6 rows ÷ 7.5 rows/inch ≈ **0.8"** ✓
### Final Gather
**RC044. COL.**
11. **Remove from Machine**:
- Cut yarn, leaving a 24" (60 cm) tail.
- Using latch tool or transfer tool, carefully remove each of the 21 remaining stitches from needles onto waste yarn or directly onto tapestry needle.
- Do NOT bind off; leave stitches live.
**Checkpoint**:
Total crown shaping height: 1.07" + 0.8" ≈ **1.87"** (~2") ✓
Total hat height: 1.5" + 4" + 2" = **7.5"** (19 cm) ✓
---
## FINISHING
### Gather Crown
12. **Thread Tapestry Needle**:
- Thread the 24" yarn tail through tapestry needle.
- Pass needle through all 21 live stitches, removing them from waste yarn (if used).
- Pull tight to gather crown closed.
- Pass needle through center hole again to reinforce; secure with several small stitches on wrong side.
### Remove Waste Yarn
13. **Unravel Cast-On**:
- Locate ravel cord at bottom edge.
- Gently pull ravel cord out; waste yarn rows will release.
- Live stitches from main yarn cast-on will be exposed.
### Seam Hat
14. **Mattress Stitch Seam** (if knit flat):
- Fold hat in half, right sides together, aligning edges.
- Using yarn tail and tapestry needle, seam side edges together using mattress stitch (invisible seam on right side).
- Work from bottom edge to crown, matching row for row.
- Weave in end securely.
**Alternative (Circular Finish)**:
- If you prefer a seamless finish, re-hang bottom edge stitches onto machine in circular configuration before removing from machine, then bind off in the round. (Advanced technique; beginner may prefer seaming.)
### Hem Finish
15. **Fold Hem** (optional):
- Fold bottom edge (ribbed brim) under by approximately 0.5" (1.3 cm) to create a clean edge.
- Using tapestry needle and matching yarn, catch-stitch hem to wrong side, being careful not to let stitches show on right side.
- **Or**: Leave edge unfinished for a rolled brim look.
**For this pattern**: Recommend leaving ribbed edge as-is (no fold) for maximum stretch.
### Steam and Block
16. **Steam Blocking**:
- Lay hat flat on padded surface or over appropriately sized form (balloon, small bowl).
- Hold steam iron 1–2" (2.5–5 cm) above fabric; steam gently.
- Do NOT press iron directly onto rib or fabric; let steam relax fibers.
- Allow to dry completely.
- **Note**: Check yarn label; some fibers (
Disclaimer: This pattern was generated by AI and should be reviewed for accuracy before use. While we strive for quality, AI-generated content may contain errors. Please verify measurements, stitch counts, and instructions before beginning your project. Generated by purlJam.uk
Access your pattern anytime
Bookmark this page to access your pattern anytime